


Protect 10+ Yard Signs: Yard Sign Storage and Transit Tips for Agents
For most people, a padded sign bag handles transport and a simple vertical rack handles off-season storage, and that combination beats any single product. Measure your sign face and stake footprint before buying anything. If your inventory is small or oddly shaped, building a DIY rack often makes more sense than a boxed product.
TL;DR:
- Measure both sign face and stake footprint accurately to ensure storage solutions fit your specific sign shapes and hardware.
- Use sign bags for frequent transportation, vertical racks for quick access in active inventories, and flat boxes for long-term seasonal storage.
- Proper cleaning, drying, and organized packing of signs prevent damage and prolong their lifespan before storage.
- Build or buy storage solutions that are scalable, durable, and tailored to your inventory size to avoid frequent upgrades or damage.
- Prioritize replacing damaged signs immediately rather than attempting repairs, especially if signs are warped, faded, or heavily scratched.
Table of Contents
- Yard Sign Storage Solutions: Bags, Racks, and Boxes Compared
- How Do You Choose the Right Yard Sign Storage?
- How to Clean, Pack, and Store Yard Signs Step by Step
- Building Your Own Yard Sign Rack or Storage Box
- Keeping Signs Secure and Undamaged in Transit
- Why Coroplast, UV Exposure, and Humidity Determine Sign Lifespan
- What an Experienced Sign User Does Differently
- When Buying New Signs Beats Storing Old Ones
- Sources
Yard Sign Storage Solutions: Bags, Racks, and Boxes Compared
Every yard sign storage method falls into one of three categories, and each one solves a different problem. Picking the wrong category is the most common mistake sign users make. A campaign volunteer who needs to haul 40 signs to a rally has different needs than a real estate agent storing 15 signs between listings.
Sign bags are the portability champions. Padded polypropylene bags fit standard metal-frame signs and, according to sizing details on a real estate yard sign storage bag listing, commonly accommodate signs up to about 30 inches by 46 inches. Many models let you keep the stakes attached, which speeds up setup at the next listing or event. The Sign Bag markets itself around exactly this convenience, letting agents toss a fully assembled sign into the trunk without disassembly.
Vertical racks win for anyone managing a dense inventory who needs to find one specific sign fast. A rack with staggered slots keeps signs upright and separated, so you’re not flipping through a stack to find the “Open House Saturday” sign buried at the bottom.
Flat boxes protect signs best over long stretches of storage. Lying flat under light pressure resists warping better than standing signs against a wall for months, which is why seasonal campaign organizers often prefer boxes over racks.
Here’s how the three stack up for common scenarios:
- Frequent transporter (real estate, weekly events): sign bag, for one-trip grab-and-go convenience.
- Large active inventory (10+ signs in rotation): vertical rack, for quick visual retrieval.
- Seasonal or archival storage (political campaigns, annual fundraisers): flat box, for anti-warp protection over months.
- Mixed use (some signs active, some in storage): a bag for the rotating set, a rack or box for the rest.
None of these is universally “best.” The right yard sign storage option depends on how often you move signs and how many you’re managing at once.
How Do You Choose the Right Yard Sign Storage?
Start with a tape measure, not a shopping cart. Measure the sign face at its widest point, then measure the stake footprint if your signs use an H-stake or double-leg frame, since some bags and racks fit the panel but not the hardware.
- Measure twice, including odd shapes. Arrow-shaped or die-cut signs need extra clearance; measure diagonal corner to corner, not just height and width.
- Weigh material trade-offs. Nylon and polypropylene bags are light and packable but offer less rigid protection than a plywood rack or a hard plastic box.
- Check capacity and modularity. A rack that only holds six signs is a poor fit if your inventory grows every election cycle or listing season.
- Review the fit policy. Look for sellers who specify exact dimensions rather than vague sizing, since a snug bag protects better than a loose one that lets signs shift.
Pro Tip: Order storage products in the size range you’ll need next year, not just this week. Most sign users underestimate how fast their inventory grows.
Durability signals worth checking include reinforced seams on bags, rust-resistant hardware on racks, and double-wall construction on boxes.
How to Clean, Pack, and Store Yard Signs Step by Step
Skipping the cleaning step is how mildew and rust ruin signs that otherwise had years of life left. Follow this sequence every time signs come down from the field.
- Remove debris first. Brush off dirt, grass clippings, and cobwebs before any liquid touches the sign.
- Wash gently. Use mild soap and water on a soft cloth. Avoid abrasive scrubbers on printed coroplast, which can scratch the ink layer.
- Dry completely. Air-dry signs fully before boxing them. Moisture trapped against porous stake sleeves or cardboard dividers invites mold, a risk backed by general guidance on drying materials to control microbial growth.
- Load face-to-back. Alternate the printed side of each sign against the blank back of the next one. This single habit does more to prevent scratching than any padding material.
- Add thin padding between faces. A layer of corrugated cardboard or foam sheeting between signs stops rubbing during transport or shifting in storage.
- Handle stakes separately. Slide stakes into fabric sleeves or wrap the pointed ends in tape so they don’t puncture bags or gouge neighboring signs.
Once signs are clean and loaded, a few rules keep the whole stack stable:
- Cap stack height at a moderate number of signs in a flat box to avoid crushing the bottom layer.
- Balance heavier double-staked signs at the base, lighter single-stake signs on top.
- Label each bag, box, or rack shelf with content and date, especially for seasonal inventory you won’t touch for months.
- Keep a simple written or spreadsheet inventory so you know what’s stored where before the next campaign or listing season starts.
That last step sounds unnecessary until you’re digging through a garage at 6 a.m. looking for one specific sign.
Building Your Own Yard Sign Rack or Storage Box
A DIY build costs less than most retail options and lets you size everything to your exact inventory. Two designs cover almost every situation.
Vertical rack: Cut evenly spaced slots along a base board, staggering them so signs lean at slightly different angles for balance. This keeps a lineup of 10 to 15 signs upright without them toppling into each other, a method detailed in a breakdown of staggered rack storage for yard art.
Flat storage box: Build a shallow open-top box sized to your largest sign, then add a center brace across the bottom panel to stop warping under stacked weight. The Instructables yard sign storage box guide walks through the full five-step build with panel dimensions.
Materials worth considering:
- MDO plywood or standard 2x4 lumber for the frame
- Corrugated dividers between signs to prevent face contact
- Wood screws over nails for a rack that won’t loosen with repeated use
Sand rough edges before loading signs. Splinters and screw tips are the most common cause of accidental tears in coroplast panels.
Keeping Signs Secure and Undamaged in Transit
A sign that survives storage can still get ruined on the drive to the next event. Pack bags or boxes flat in the trunk or cargo area rather than propped upright, where sudden stops send them sliding.
- Use a folded moving blanket between the sign stack and any hard cargo surface.
- Strap bags or boxes to anchor points if you’re hauling more than five or six signs at once.
- Dry signs fully before loading, especially after a rainy install, to avoid trapping moisture against the vehicle’s interior panels.
- Check straps and bag zippers before every drive, not just the first one of the season.
Pro Tip: Keep one empty padded bag in your trunk year-round. It turns an unexpected sign pickup into a five-minute job instead of a bare-metal-in-the-backseat mess.
Why Coroplast, UV Exposure, and Humidity Determine Sign Lifespan
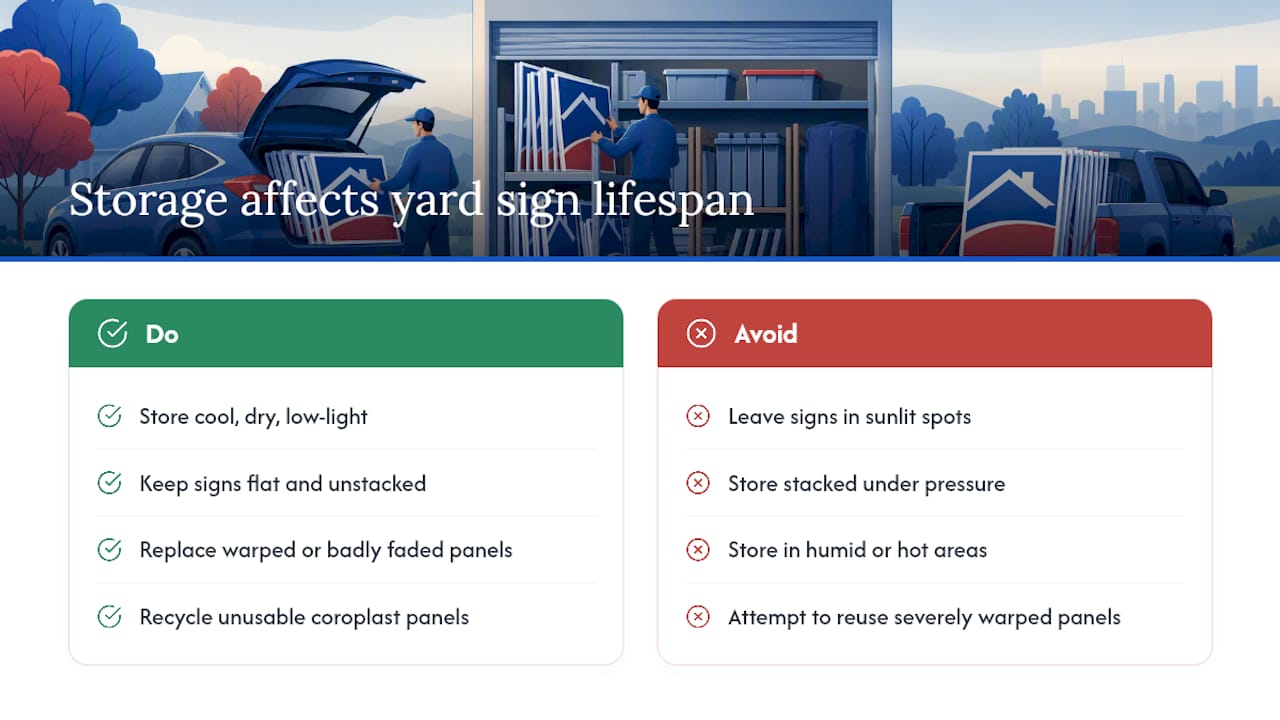
Coroplast, the corrugated plastic used in most yard signs, holds up well outdoors but degrades faster in storage conditions that seem harmless. Direct sunlight through a garage window fades printed ink over time, which is why UV protection technology built into quality inks matters less if the sign then sits in a sunlit spot for six months anyway. Cool, dry, low-light storage extends print life more than any single product choice.
Stacking pressure combined with heat or humidity causes coroplast panels to warp permanently, and warped signs never lie flat again. Coroplast is also a commonly reused material in reusables marketplaces, so signs beyond repair are worth recycling rather than trashing. If a panel is warped, cracked, or badly faded, repairing or reusing it is rarely worth the effort compared to replacing it.
What an Experienced Sign User Does Differently
Most people treat storage as an afterthought, something you deal with after the sign has already taken damage. The smarter approach treats storage as part of the sign’s working life from day one, not a chore that starts when the campaign ends.
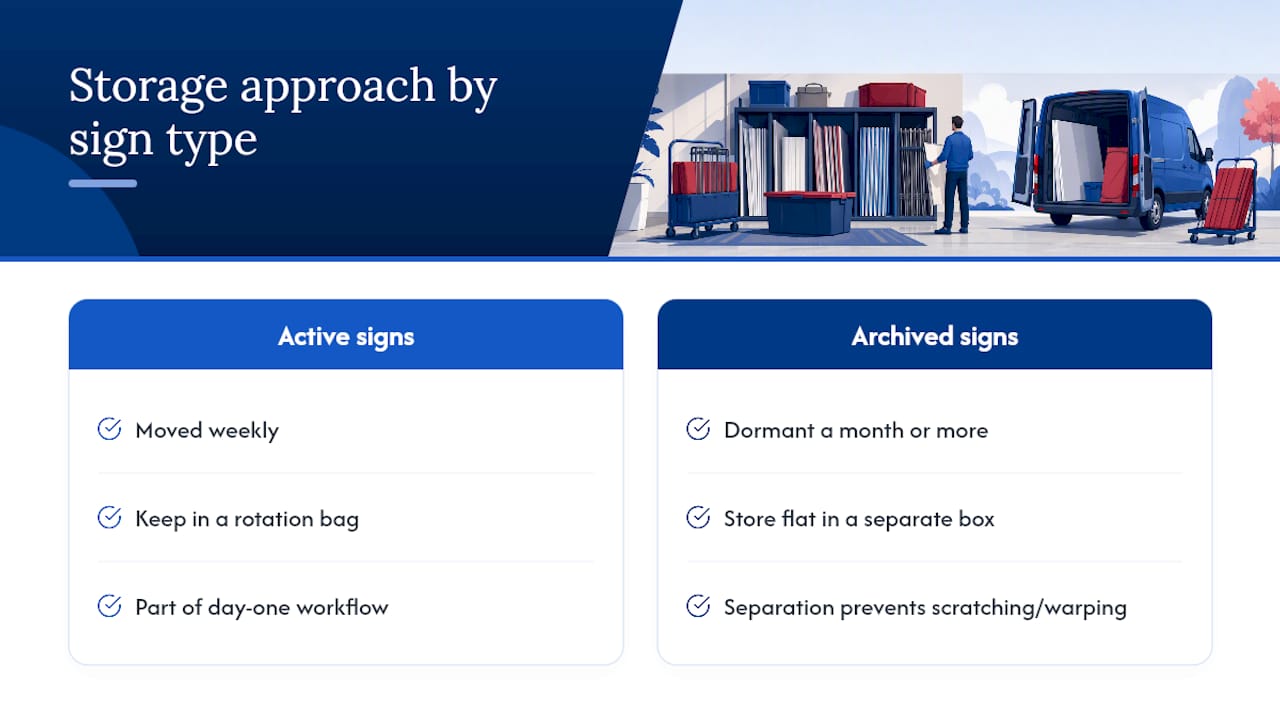
The biggest mistake I see repeated every season is mixing daily-use signs with archived ones in the same bag or box. Keep an active rotation bag for signs you’re moving weekly, and a separate flat box for anything going dormant for a month or more. That single separation prevents more scratching and warping than any padding material you can buy. Sign quantity and movement frequency, not budget, should drive which storage method you pick first.
— YardSignGuy
When Buying New Signs Beats Storing Old Ones
Sometimes the smartest yard sign storage decision is skipping storage altogether. If a sign’s face is scratched past legibility, the coroplast is warped, or you only need a handful of signs for a one-time push, ordering new ones outright often costs less time and hassle than nursing damaged inventory through another season.

Yardsigns is built for exactly that moment. Orders under 50 pieces ship within 24 hours, so a campaign volunteer or event organizer replacing a few worn signs isn’t waiting a week to get back in the field. Every sign comes double-sided with UV-resistant inks and includes metal H-stakes, and the free design proof process means you’re not guessing whether the layout will look right before it prints. Fundraising organizers can browse charity fundraising event signs or child education fundraising designs, while offices and schools celebrating a milestone can check out employee of the month signs. Start a design proof today and see the layout before you commit to a print run.
Sources
For deeper how-to detail, the Instructables storage box plan covers full build steps, the Reusables coroplast listing explains material reuse, and Yardsigns’s corrugated sign guide breaks down why coroplast behaves the way it does in storage.
- Real Estate Yard Sign Storage Bag Sack. Protect Your Car and Keep It Clean When Transporting Real Estate Signs
- Yard Sign Storage Boxes : 5 Steps - Instructables
- Coroplast listing on Reusables marketplace
- UV Technology For Protection Of Surfaces — RadTech
